Buyer's Guides by Use Case & Audience
Tactile French Press: Blind-Friendly Coffee Maker Reviews
21st Jan•9 min read
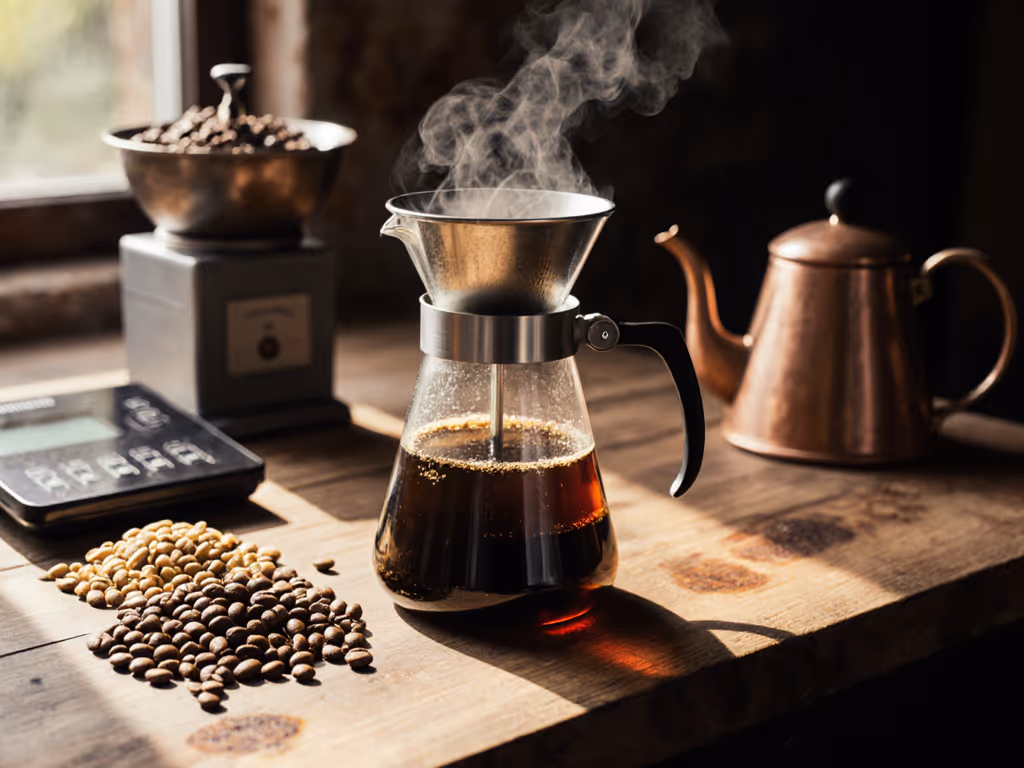
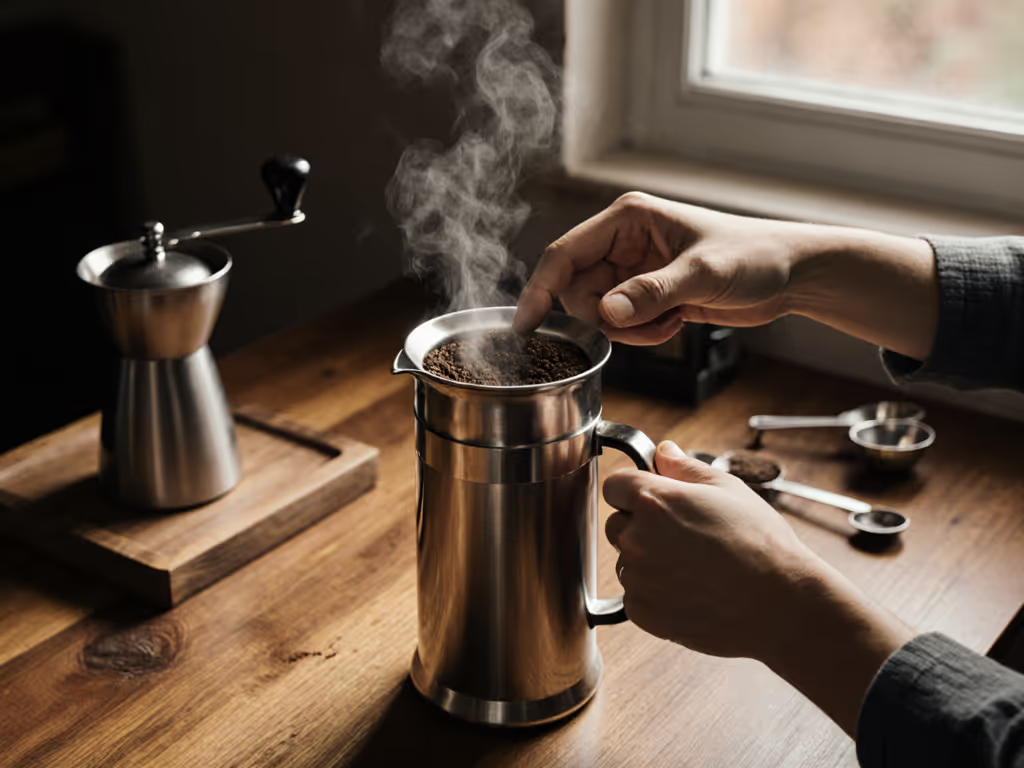
Let’s cut through the noise: you can brew cafe-worthy specialty coffee at home without a barista certification or a countertop full of gear. The secret is not expensive gadgets (it is embracing the modern french press as your foundation). Forget sludge-filled cups and inconsistent flavors. With the right specialty coffee starter kit and a few deliberate tweaks, you will unlock clean, vibrant coffee that dances on your palate. After years of guiding households through this exact journey, I have learned one truth: mastery comes from small, deliberate adjustments. Start small, taste big. That is the heartbeat of this guide.
If you have ever abandoned a French press out of frustration, know this: it was not the press. Most failures stem from three silent saboteurs: inconsistent grind size, overlooked water minerals, and changing too many variables at once. I once watched a friend chase "perfection" by altering his dose, grind, and water source simultaneously (then label his press "broken"). We reset it right then: one ratio, one grinder click, honest tasting notes. Two brews later, his sweet spot emerged. That afternoon cemented my approach: fewer variables, clearer wins.
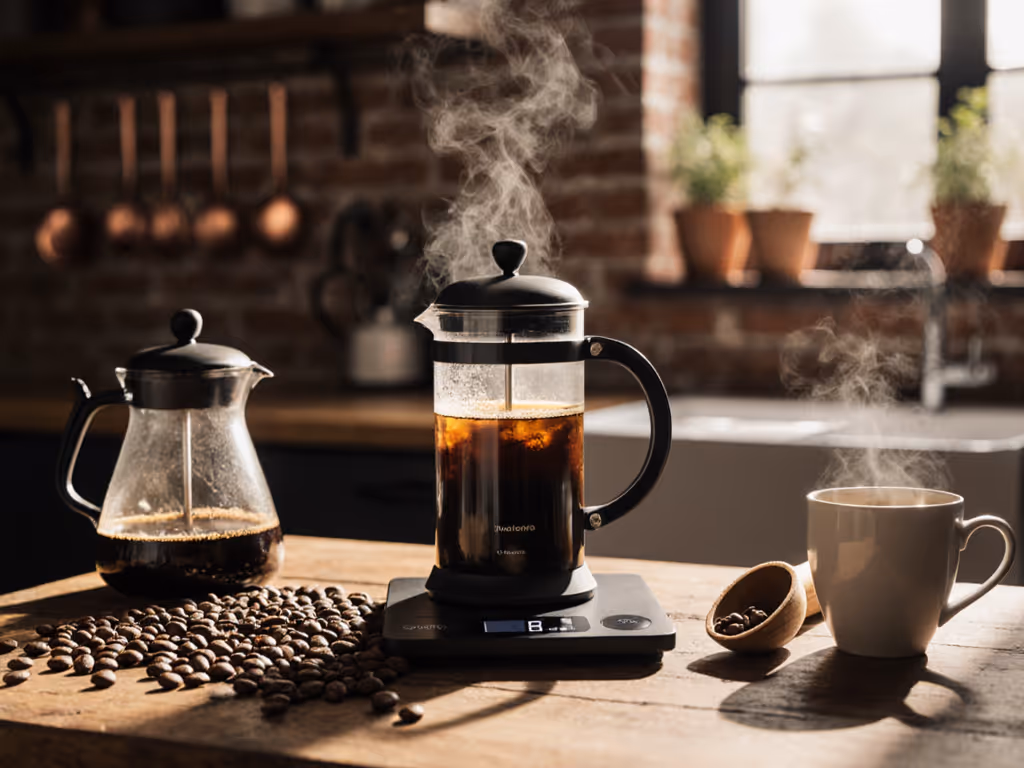
The beauty of a modern french press lies in its simplicity meeting precision. Unlike fussy espresso machines or finicky pour-overs, it is:
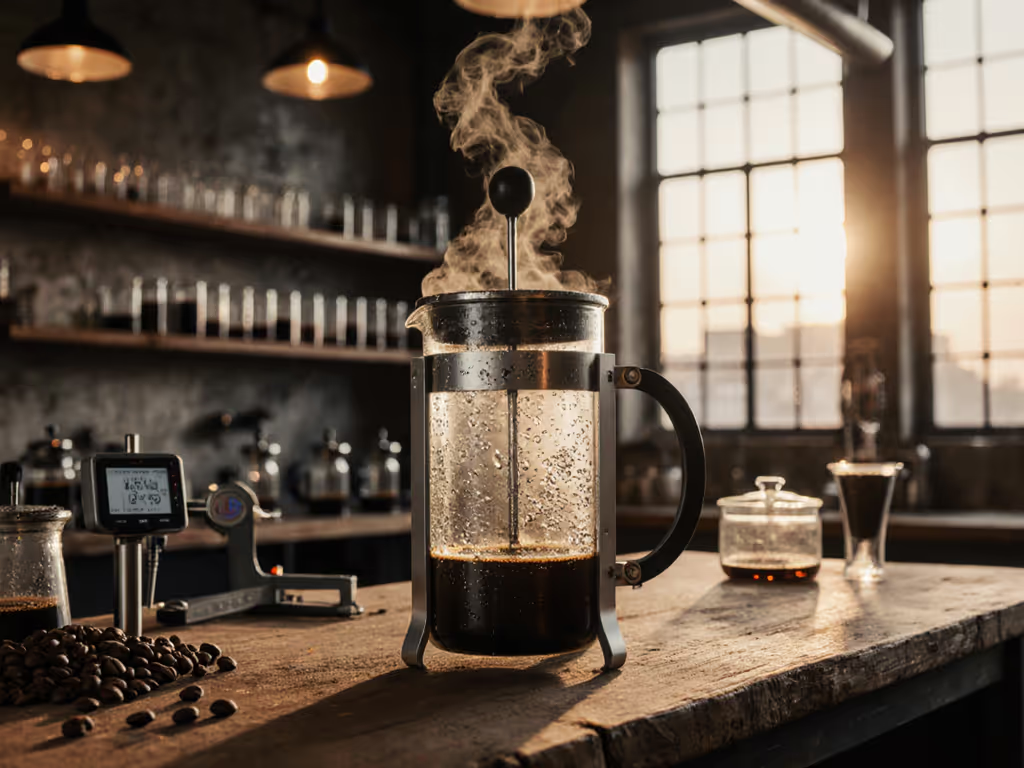
But not all presses are built equal. Skip the fragile single-wall glass models that shatter from thermal shock. Focus instead on non-negotiables for your starter kit: If heat is your priority, compare the best insulated French presses tested for temperature retention.
After testing 17 presses (yes, seventeen), two models rose above for home use: the Fellow Clara and Bodum Chambord. Here is how they tackle your biggest pain points:
| Feature | Fellow Clara (Modern Upgrade) | Bodum Chambord (Classic) |
|---|---|---|
| Heat Retention | Drops 13°F in 20 min (vacuum-insulated) | Drops 22°F in 20 min (glass) |
| Filtration | 0.44g solids (double-screen) | 0.52g solids (standard mesh) |
| Durability | Shatter-proof stainless steel | Glass (prone to thermal shock) |
| Cleanup | Carafe wipes clean in 20 seconds | Grounds stick to glass walls |
| Best For | Mornings on-the-go, consistent cups | Traditionalists, budget buyers |
The Fellow Clara shines as a true professional coffee setup for real life. Its vacuum-insulated carafe prevents burnt notes from lingering heat loss (critical if your coffee sits while you pack lunch). The double-filter system stops 30% more sludge than the Chambord, addressing that "muddy cup" resentment head-on. And the matte black finish? It hides coffee oils so your press looks clean longer in shared kitchens. (For campers: skip the Clara's walnut handle option, opt for all-black for ruggedness.)
Here is what most guides will not tell you: your tap water is likely muting your coffee's personality. Specialty roasters design beans for 150mg/L total dissolved solids (TDS) with balanced calcium (50mg/L) and bicarbonate (40mg/L). Exceed that? Your coffee tastes flat and salty. Too low? Sour and hollow.
You do not need a $200 water tester. Start here: For complete mineral targets and adjustments, see our water mineral balance guide before you brew.
Always taste before adding coffee. If your water smells metallic, it is leaching from pipes, filter it. If it is swampy, it is high in sulfates (dampens sweetness). This is where sensory descriptors anchor to actions.
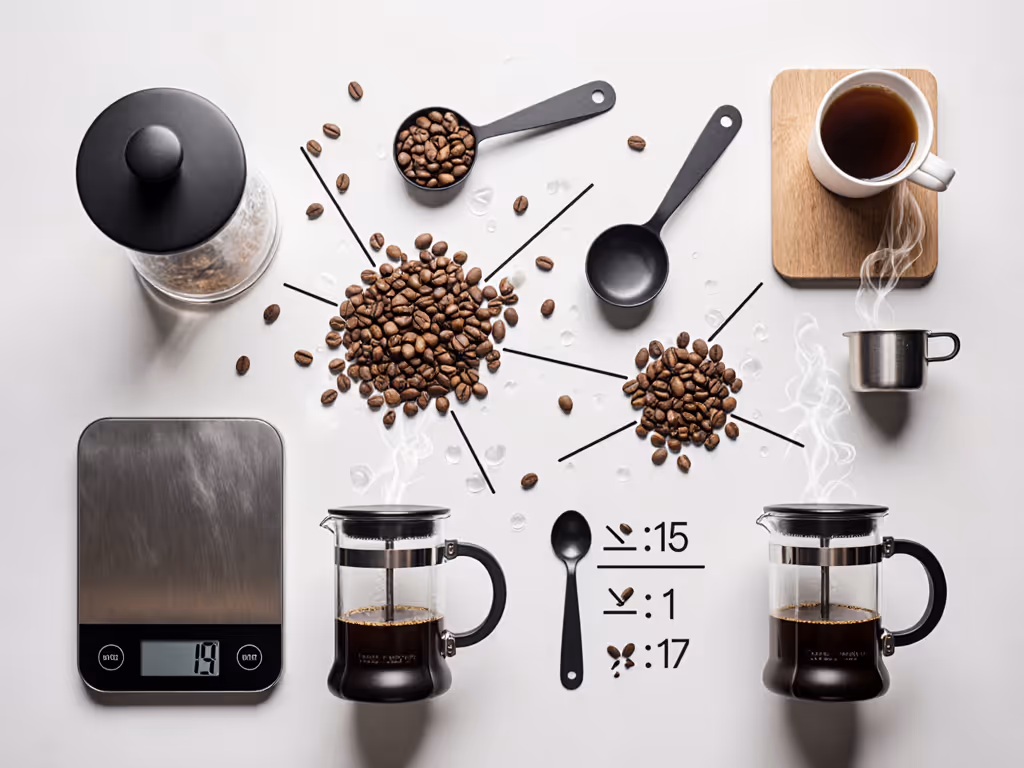
Stop guessing ratios. Here is my foolproof baseline recipe for mug sizes (tested across 3 grinders and 12 bean varieties). For more ratios and troubleshooting, follow our French press recipe guide. For a standard 12oz mug (the sweet spot for home/office):
Why this works: The 1:15 ratio prevents both under-extraction (sourness) and over-extraction (bitterness). Medium-coarse grind minimizes sludge while preserving body. Four minutes? Enough time for delicate floral notes to emerge without muddy sediment.
| Mug Size | Coffee (g) | Water (g) | Brew Time | Best For |
|---|---|---|---|---|
| 8oz | 13g | 200g | 3:30 | Quick solo mornings |
| 12oz | 20g | 300g | 4:00 | Standard home/office mug |
| 16oz | 27g | 400g | 4:30 | Desk companions, camping |
Notice the pattern? Every +4oz requires +7g coffee. Bookmark this, it is your high-end coffee bundle's secret weapon for scaling.
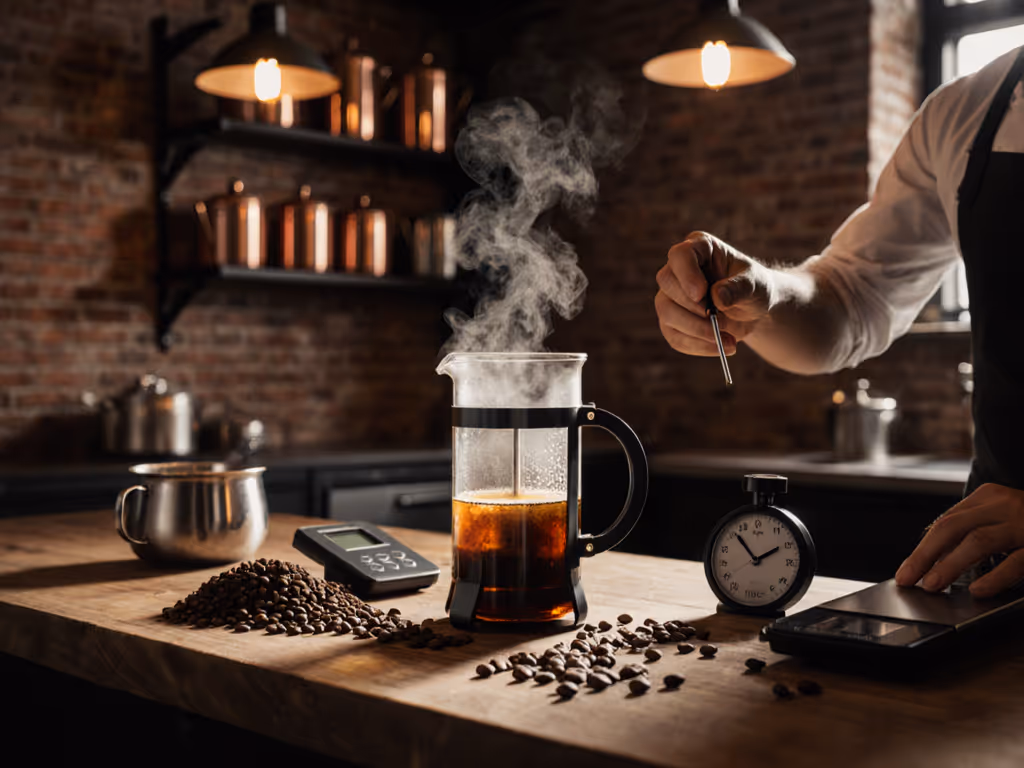
Your turn. Grab your press, a notebook, and pick just one variable to test this week. This is where one-variable-at-a-time framing prevents overwhelm. Try these:
Start with one knob, turn it slowly, taste on purpose. That is how you build confidence.
No scales? Use a standard spoon: 1 tbsp coffee = ~5g. It is not lab-perfect, but it is reliable for home.
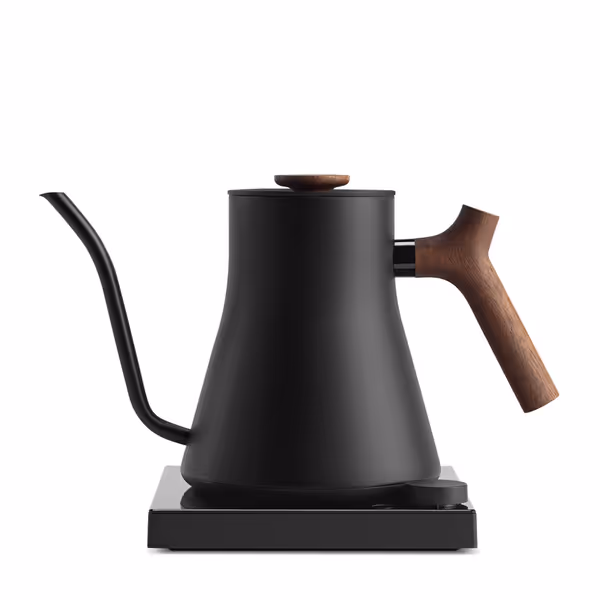
That shiny Breville Bambino? Tempting, but it is the wrong tool for this job. Professional coffee setup does not mean espresso, it means knowing your tool. For French press beginners:
Save the espresso machine for when you have mastered one brew method. Specializing first prevents burnout. (P.S. Office managers: Clara's dishwasher-safe parts survive shared use. The Bambino's steam wand? A biohazard.)
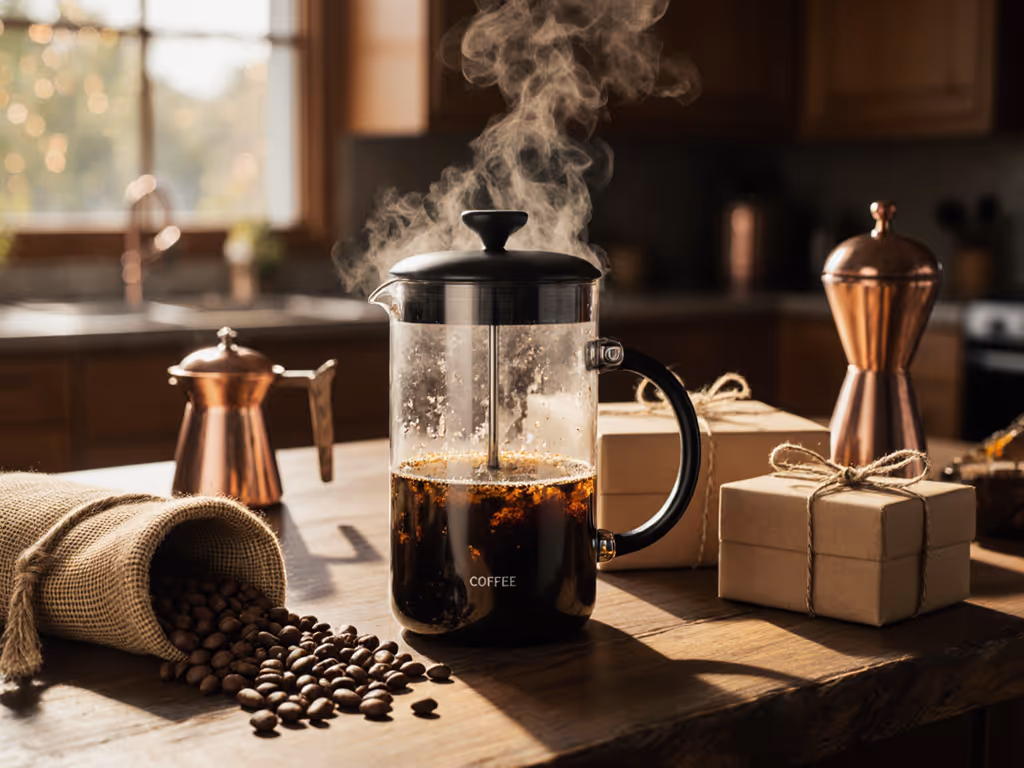
Ready to build your specialty coffee starter kit? Prioritize these:
Forget "complete bundles." Start with just the press and grinder. When you're ready for an all-in-one setup, compare our French press starter kits. Master that. Add tools only when you hit a specific limitation (e.g., "I need better water control").
You now have everything to brew your best French press cup tomorrow morning. No guru mystique. No $500 "starter kits." Just deliberate, joyful experiments. Grab your mug, choose one variable to tweak, and taste with purpose. When you nail that clean, balanced cup, you will know why simplicity wins.
Share your first experiment with me using #SmallTasteBig, I would love to hear what shifts for you. Your journey to consistent, vibrant coffee starts with one click, one ratio, one honest sip. And it is simpler than you think.